Spinning Heart Riso Animation
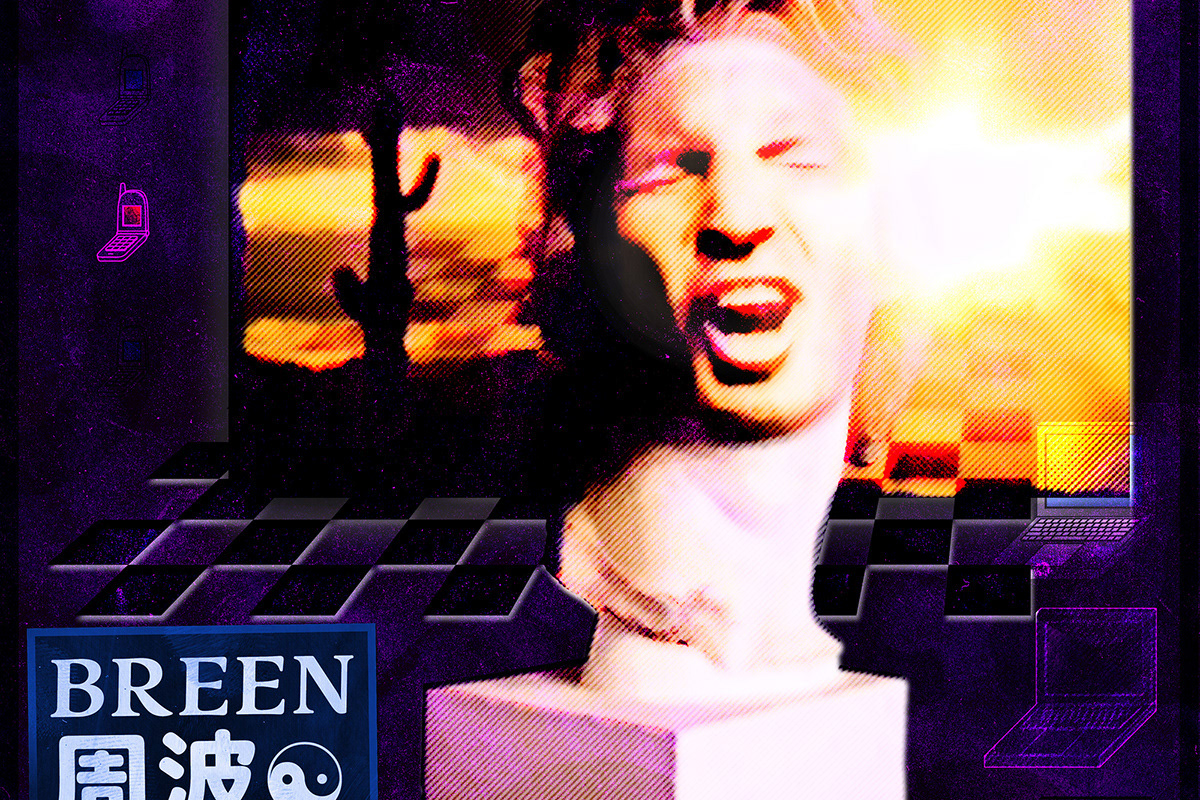
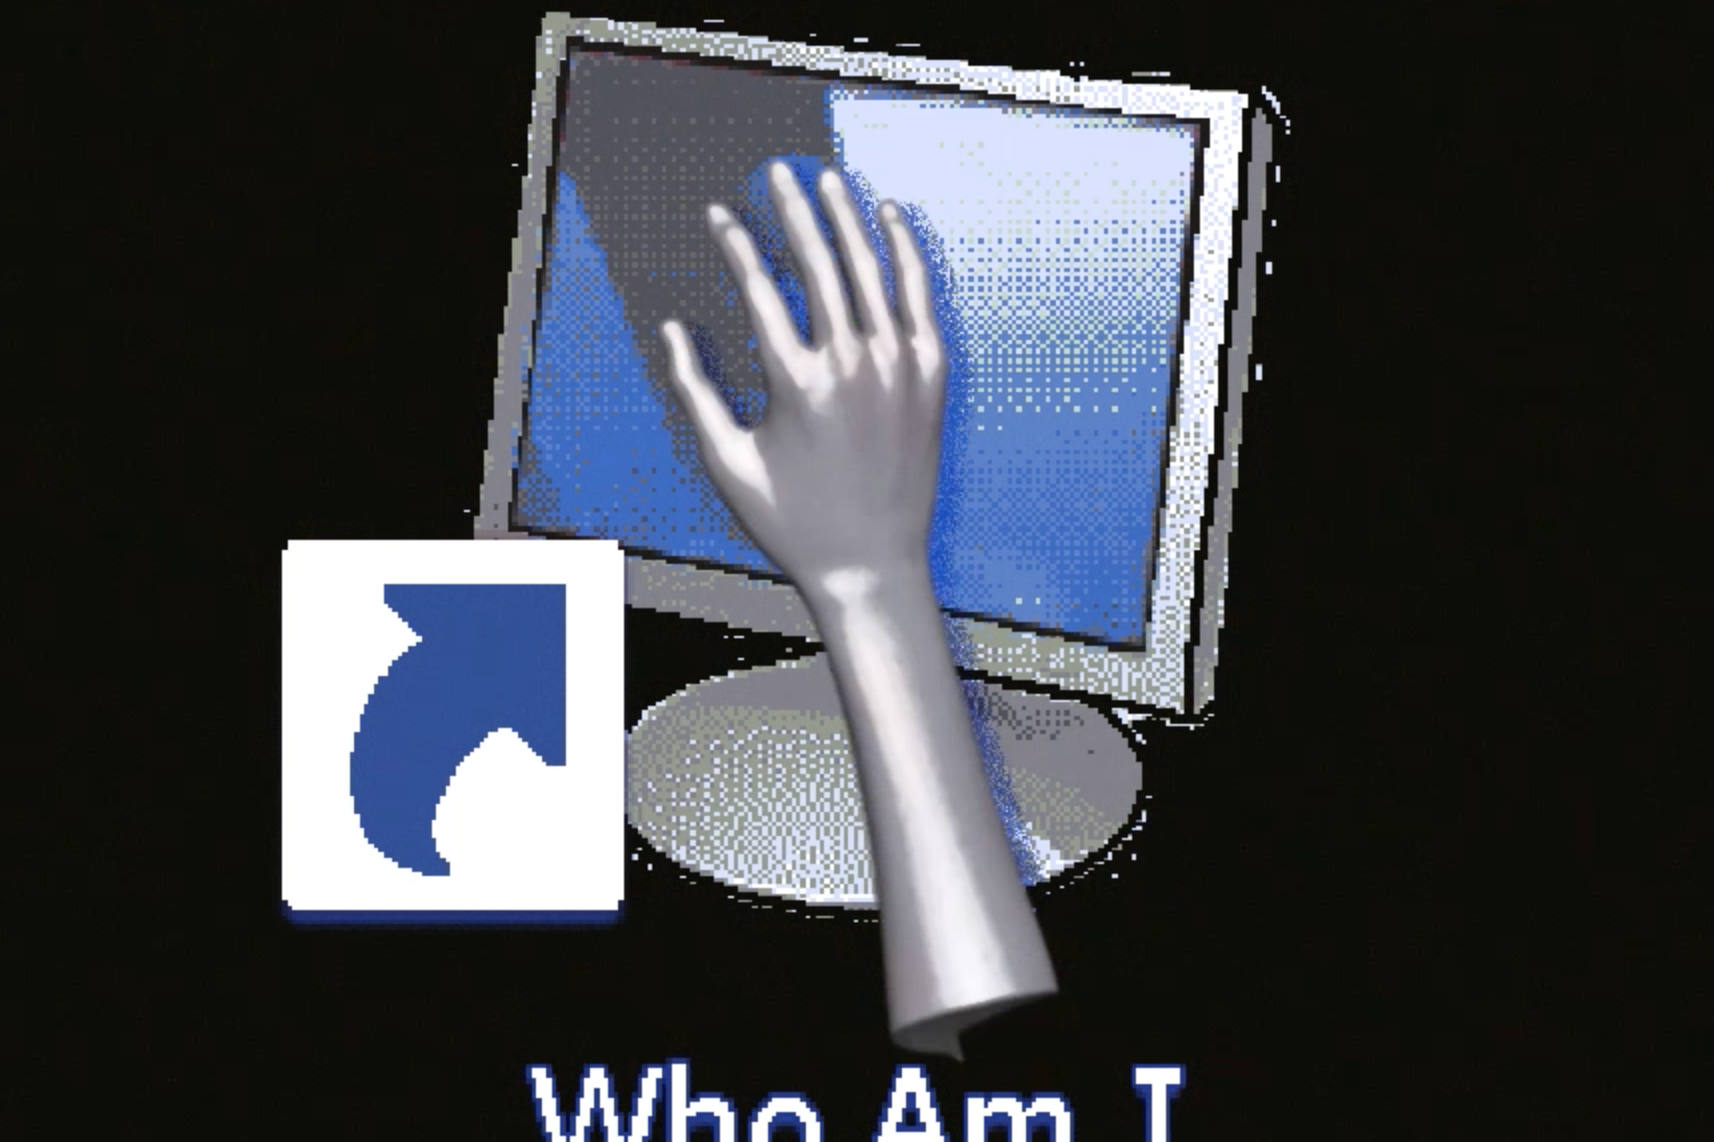
This is a short and sweet animation I made to accompany the release of the EP Heart Orb Bone by Snakeskin. I created this as part of a risograph printing workshop by Kelli Anderson. It was really fun to create and I learned a lot! Here I can share a bit about the process.
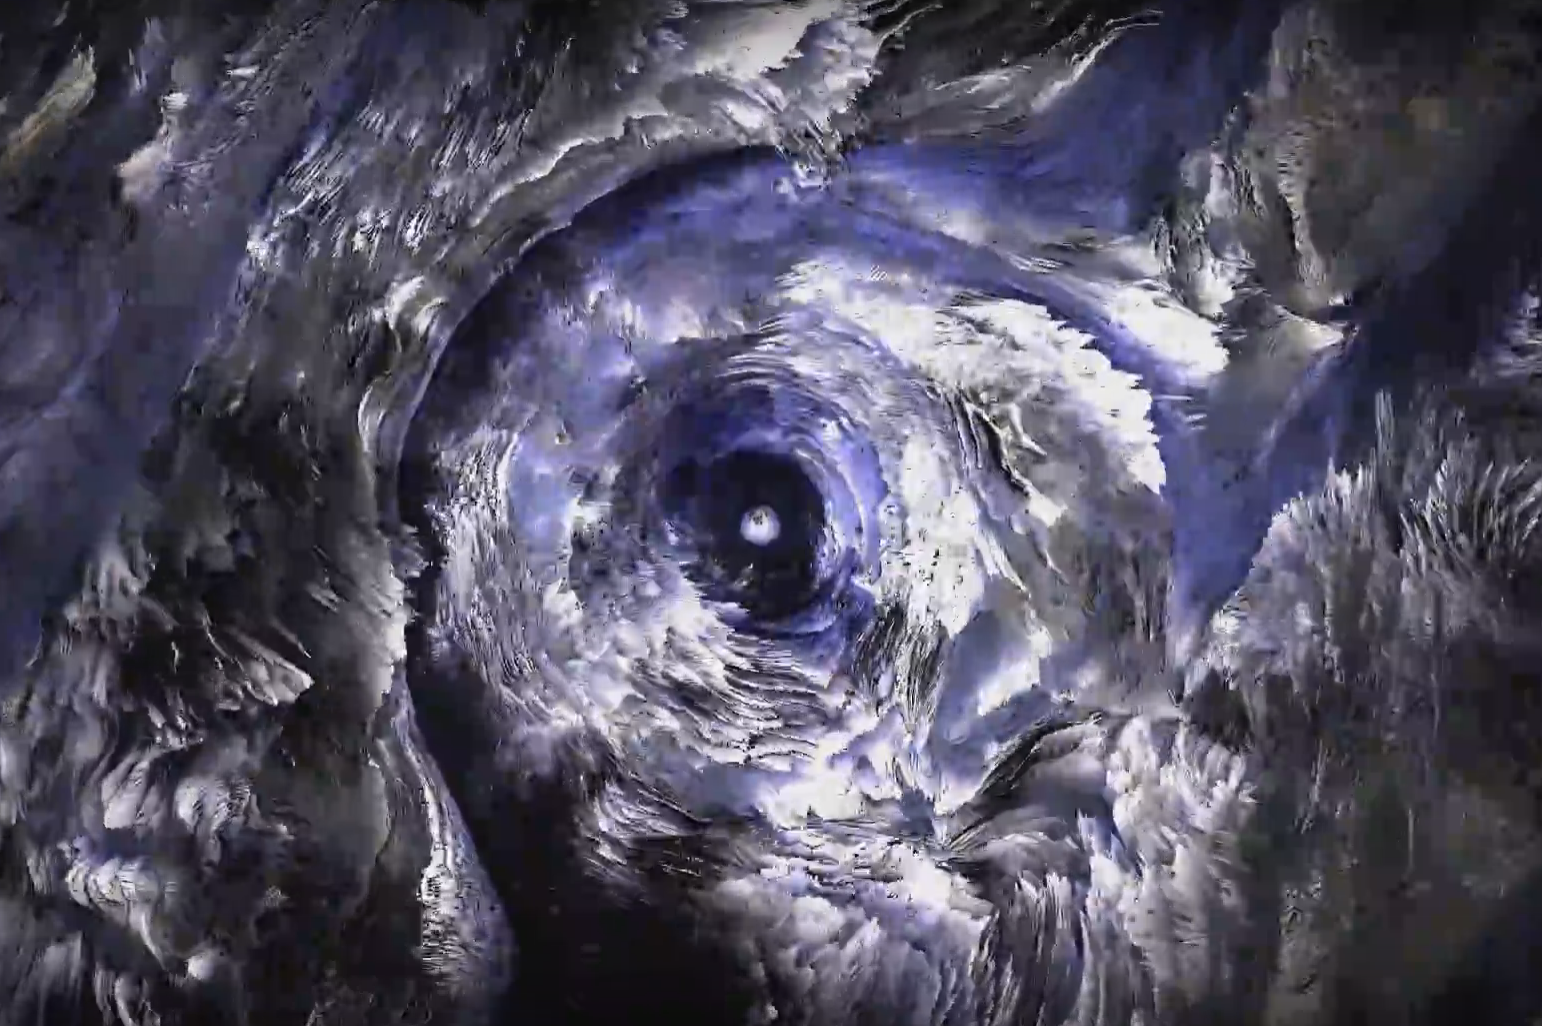
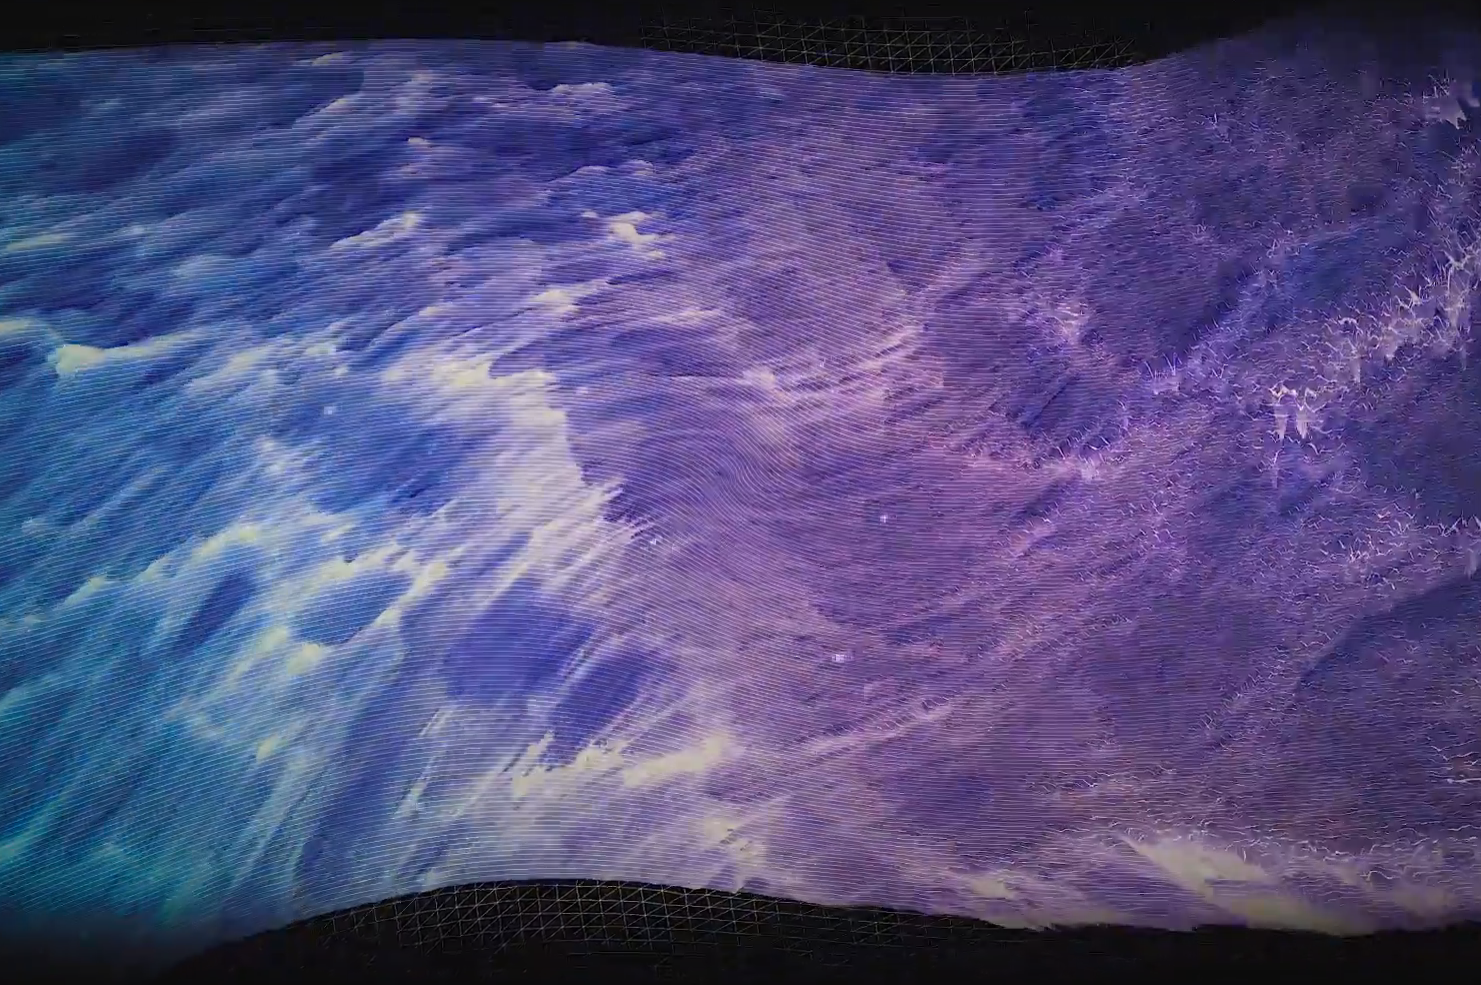
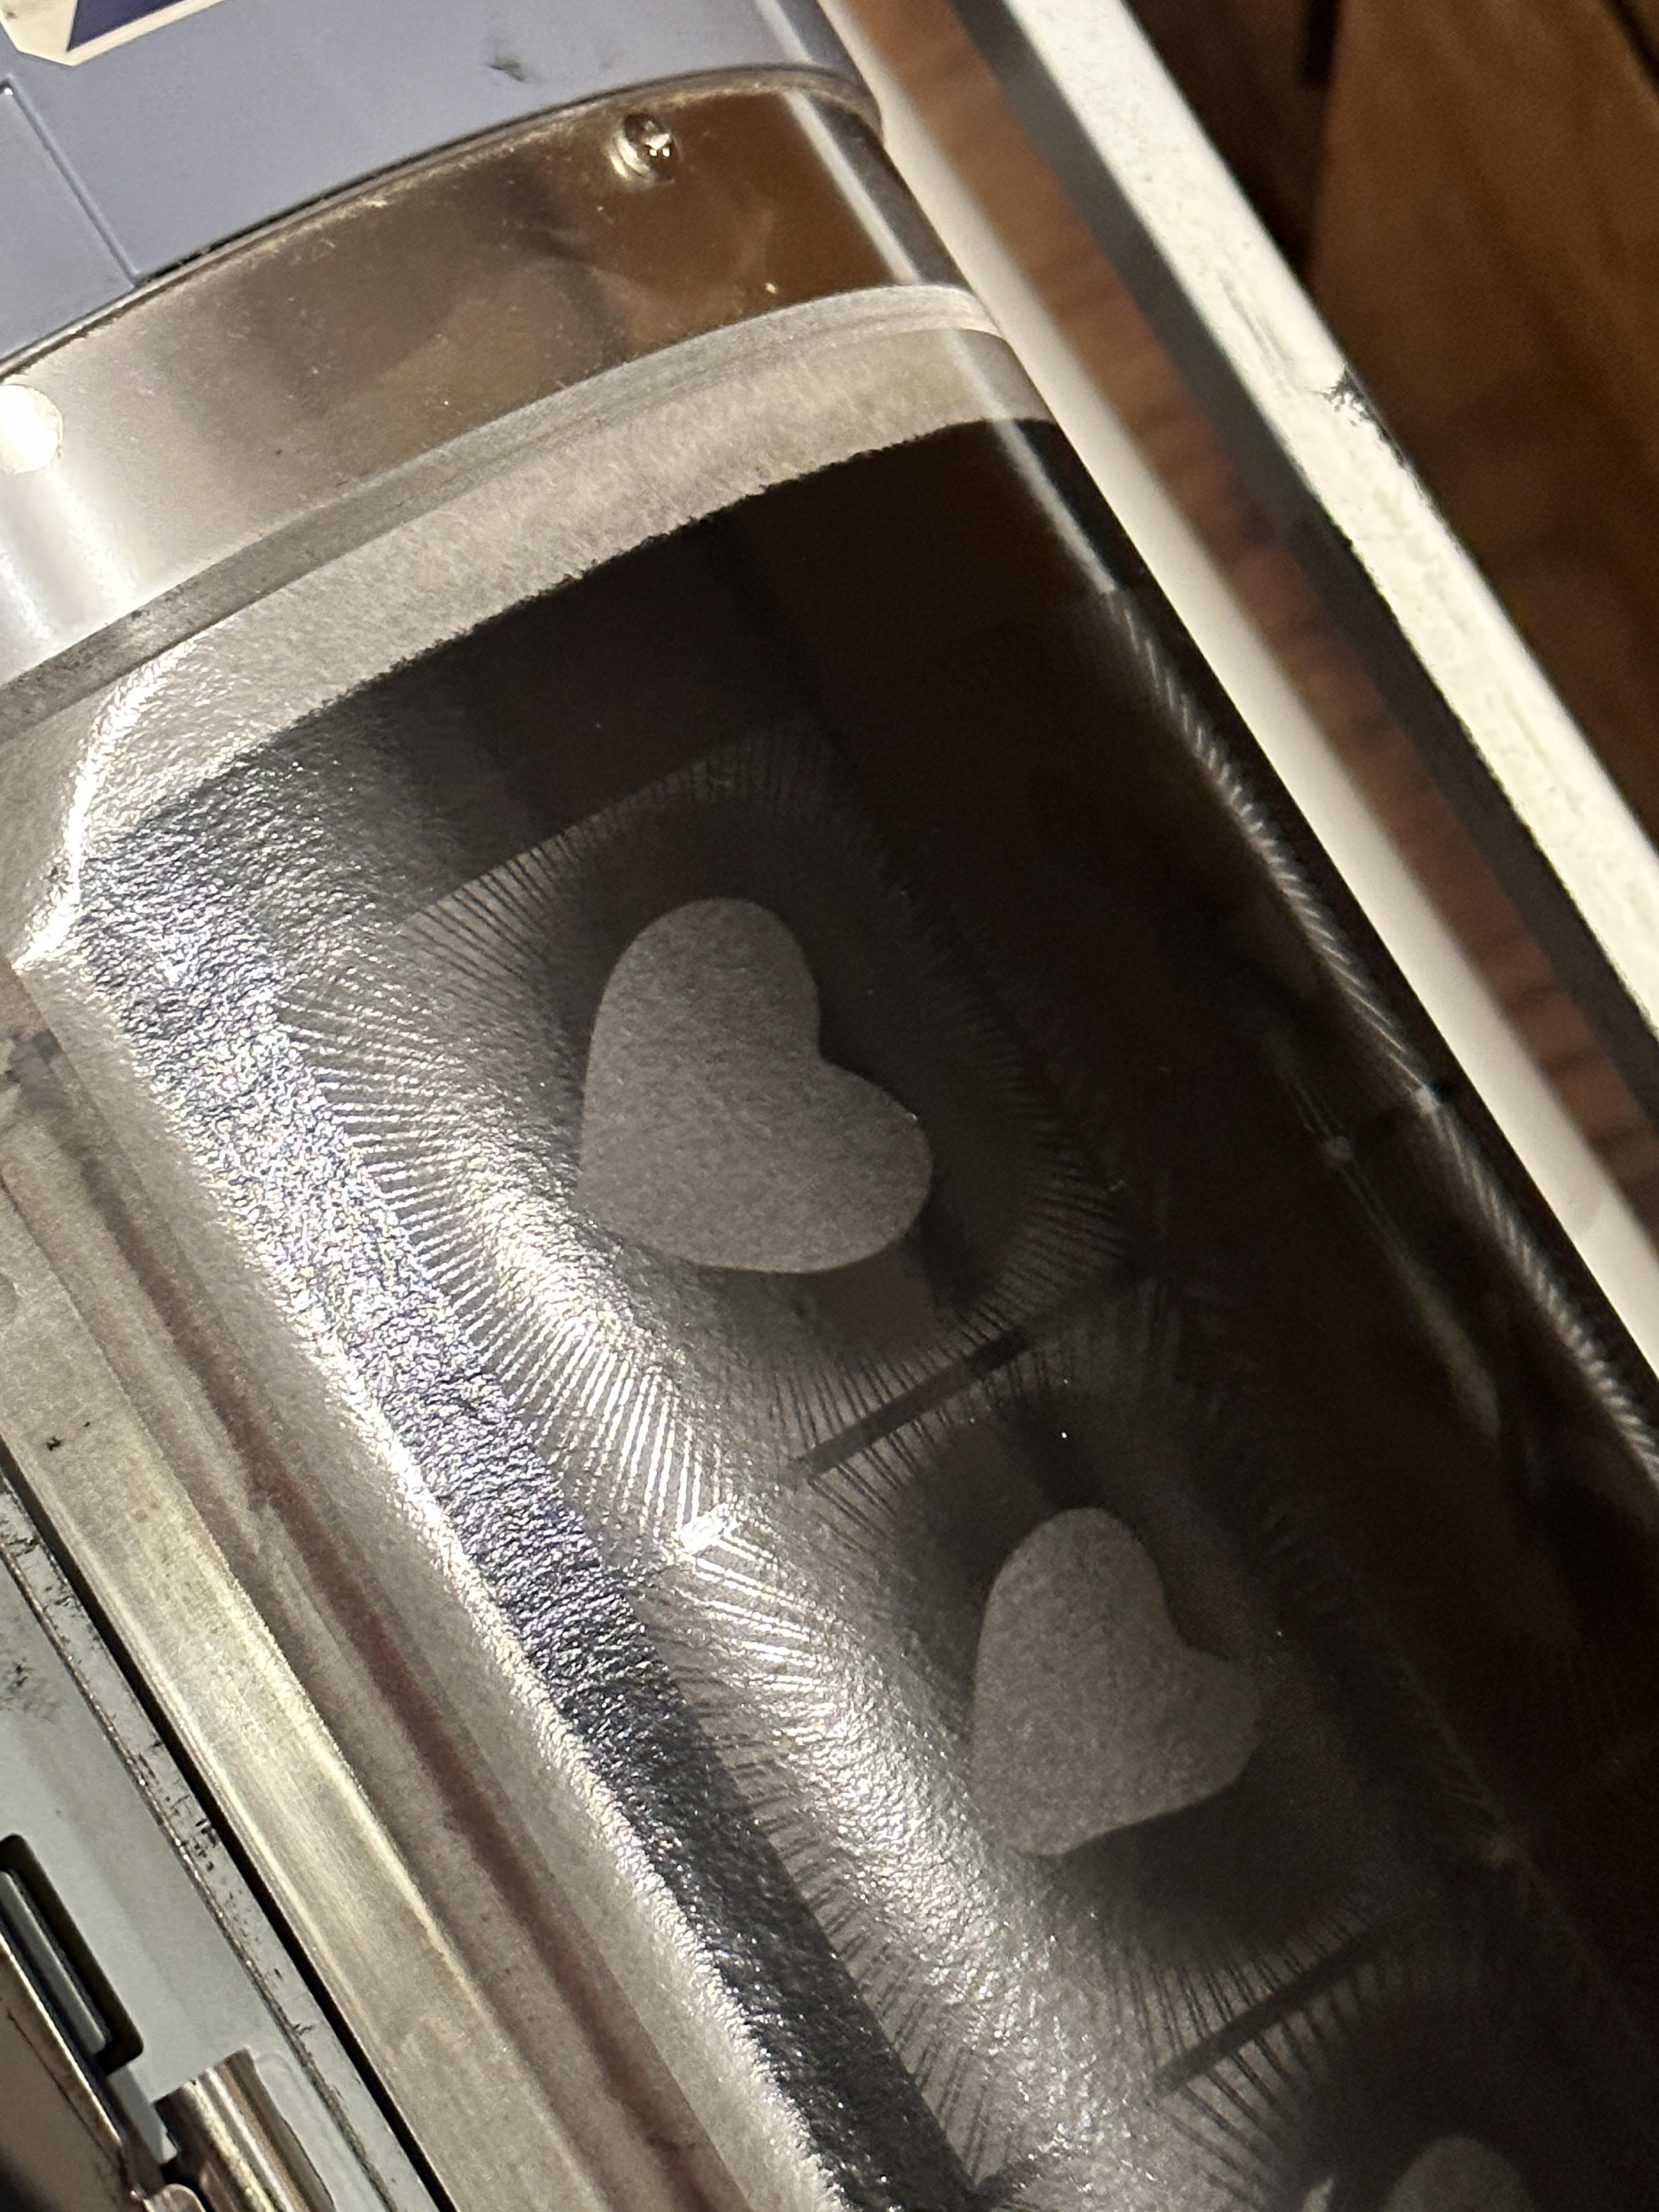
The first thing I'd like to point out is how much detail and physicality the risograph printing process adds to the animation. Below you can see a comparison of the digital animation created in After Effects and the final animation digitized from the riso print:
Process
The process for making risograph animations is somewhat straightforward, yet tedious and full of manual work. That's OK -- in fact, it's the point! All of the errors and hiccups along the way produce the final riso effect.
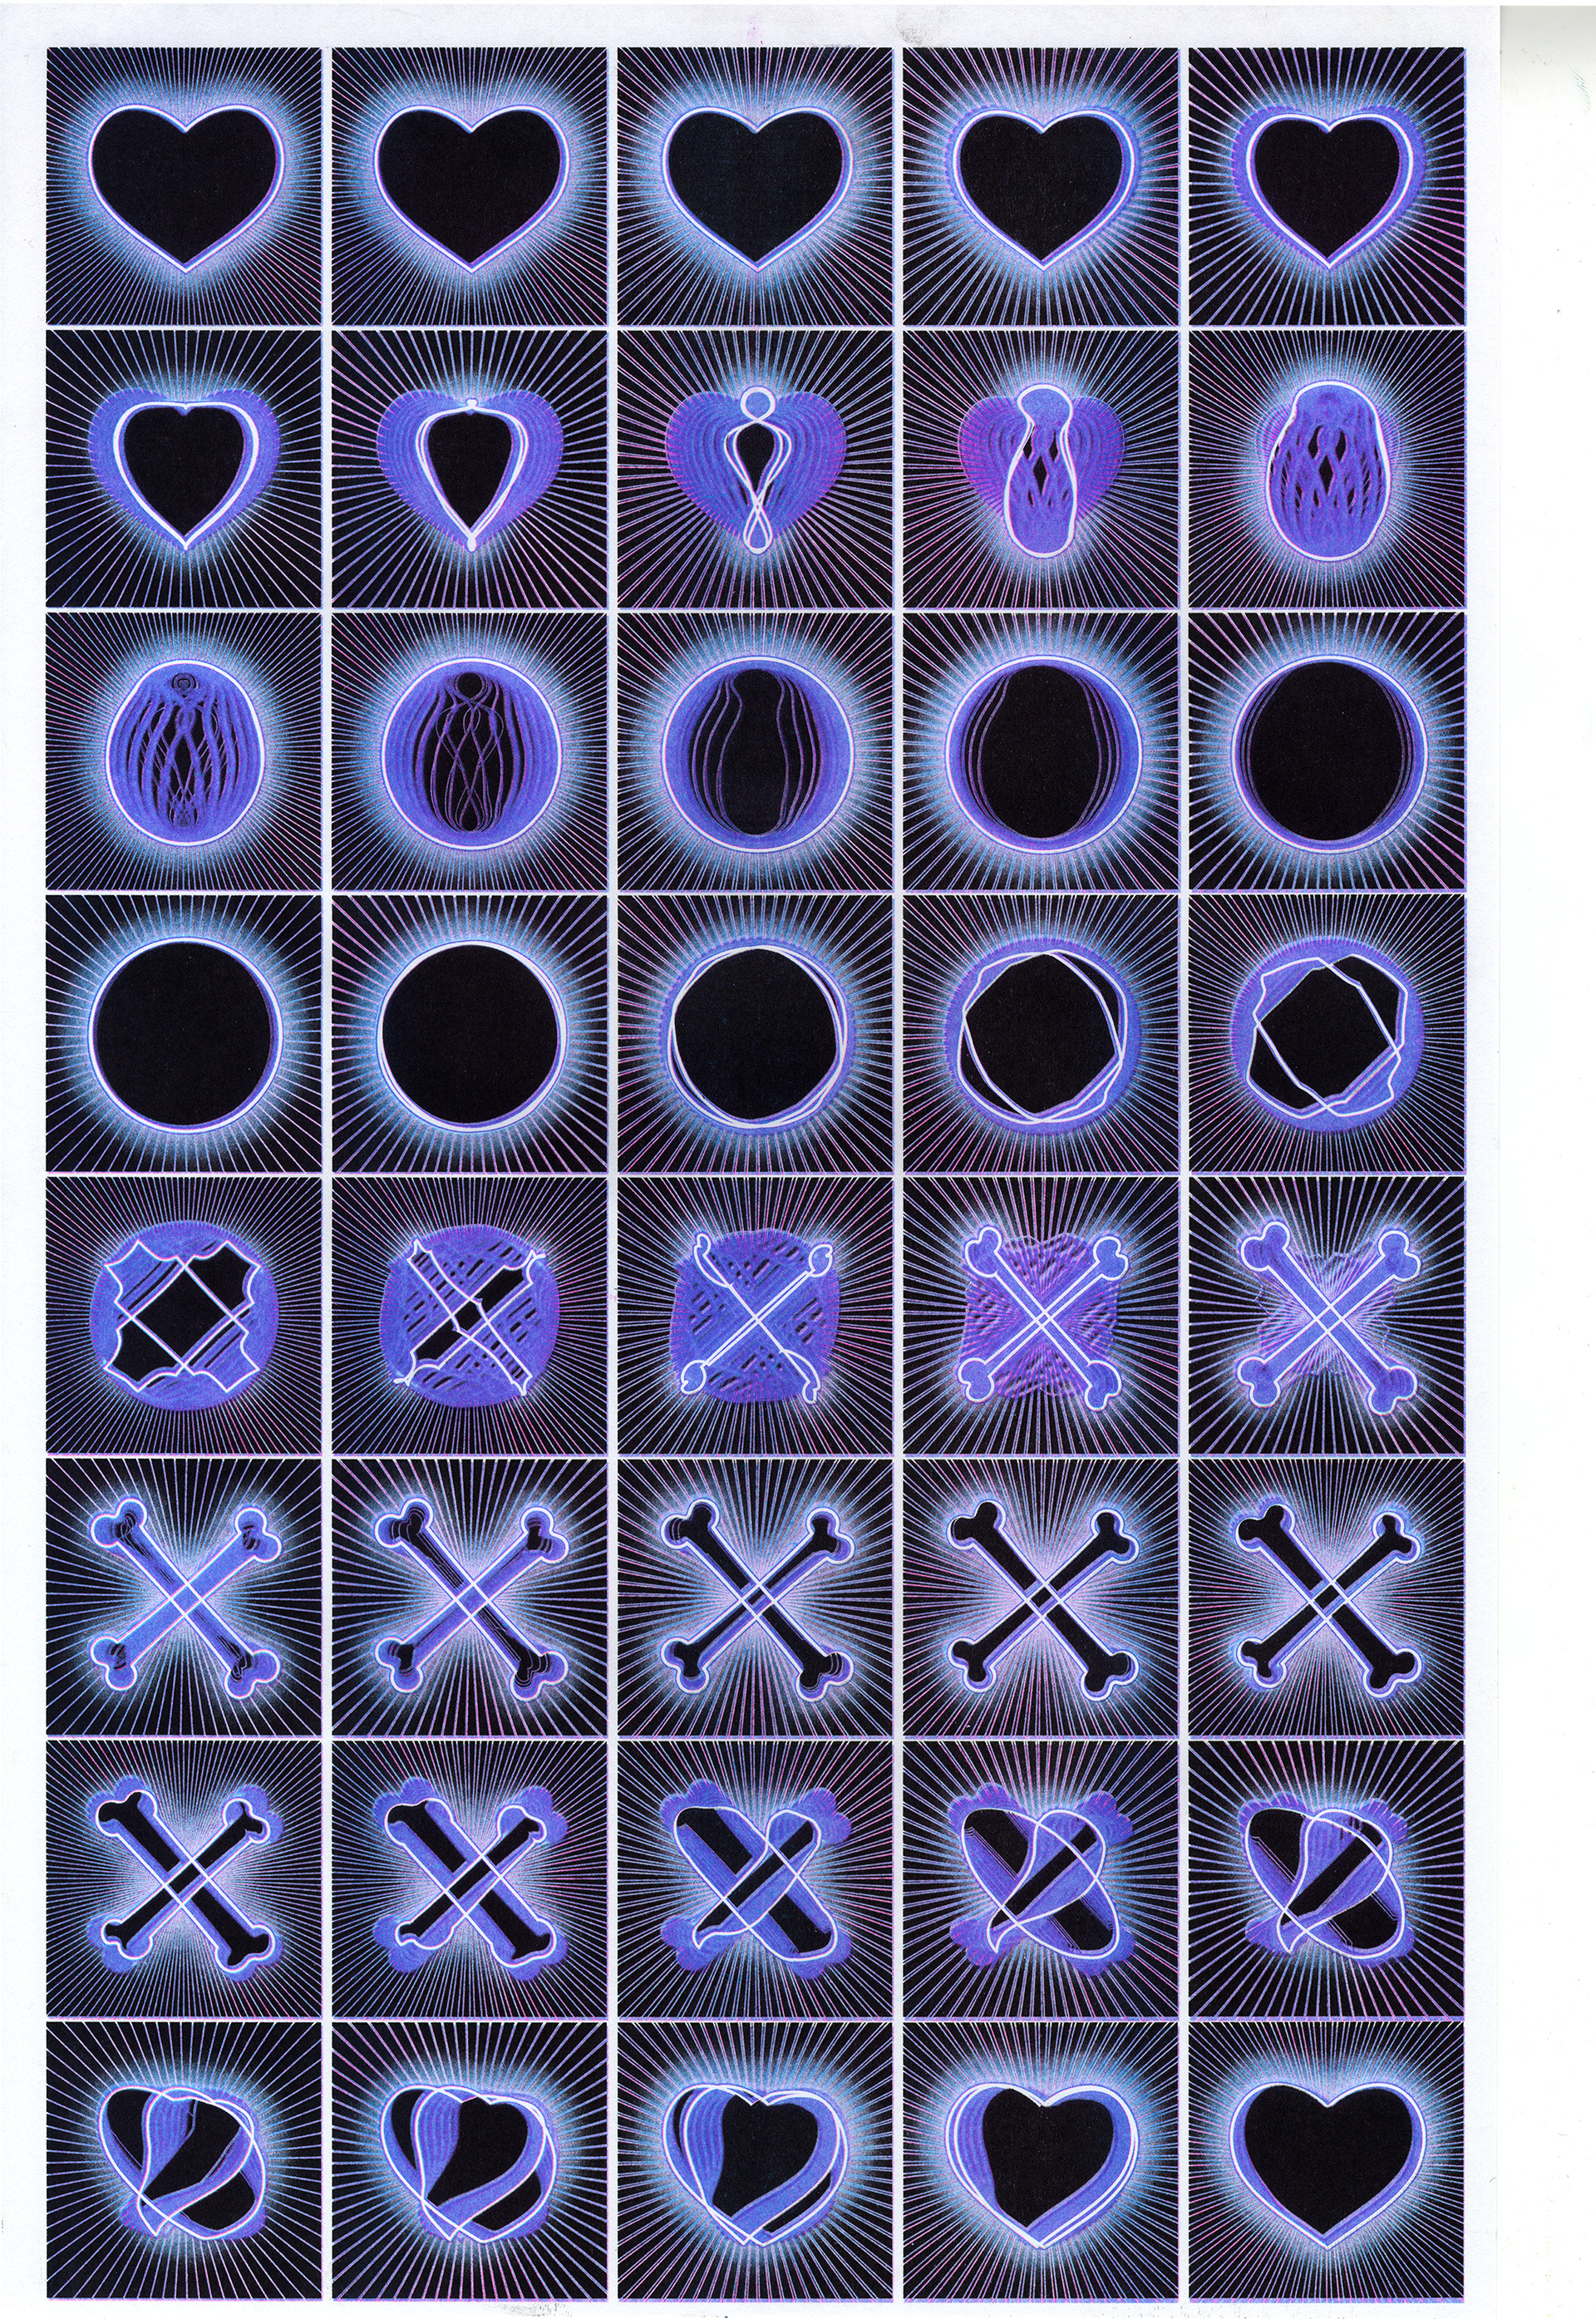
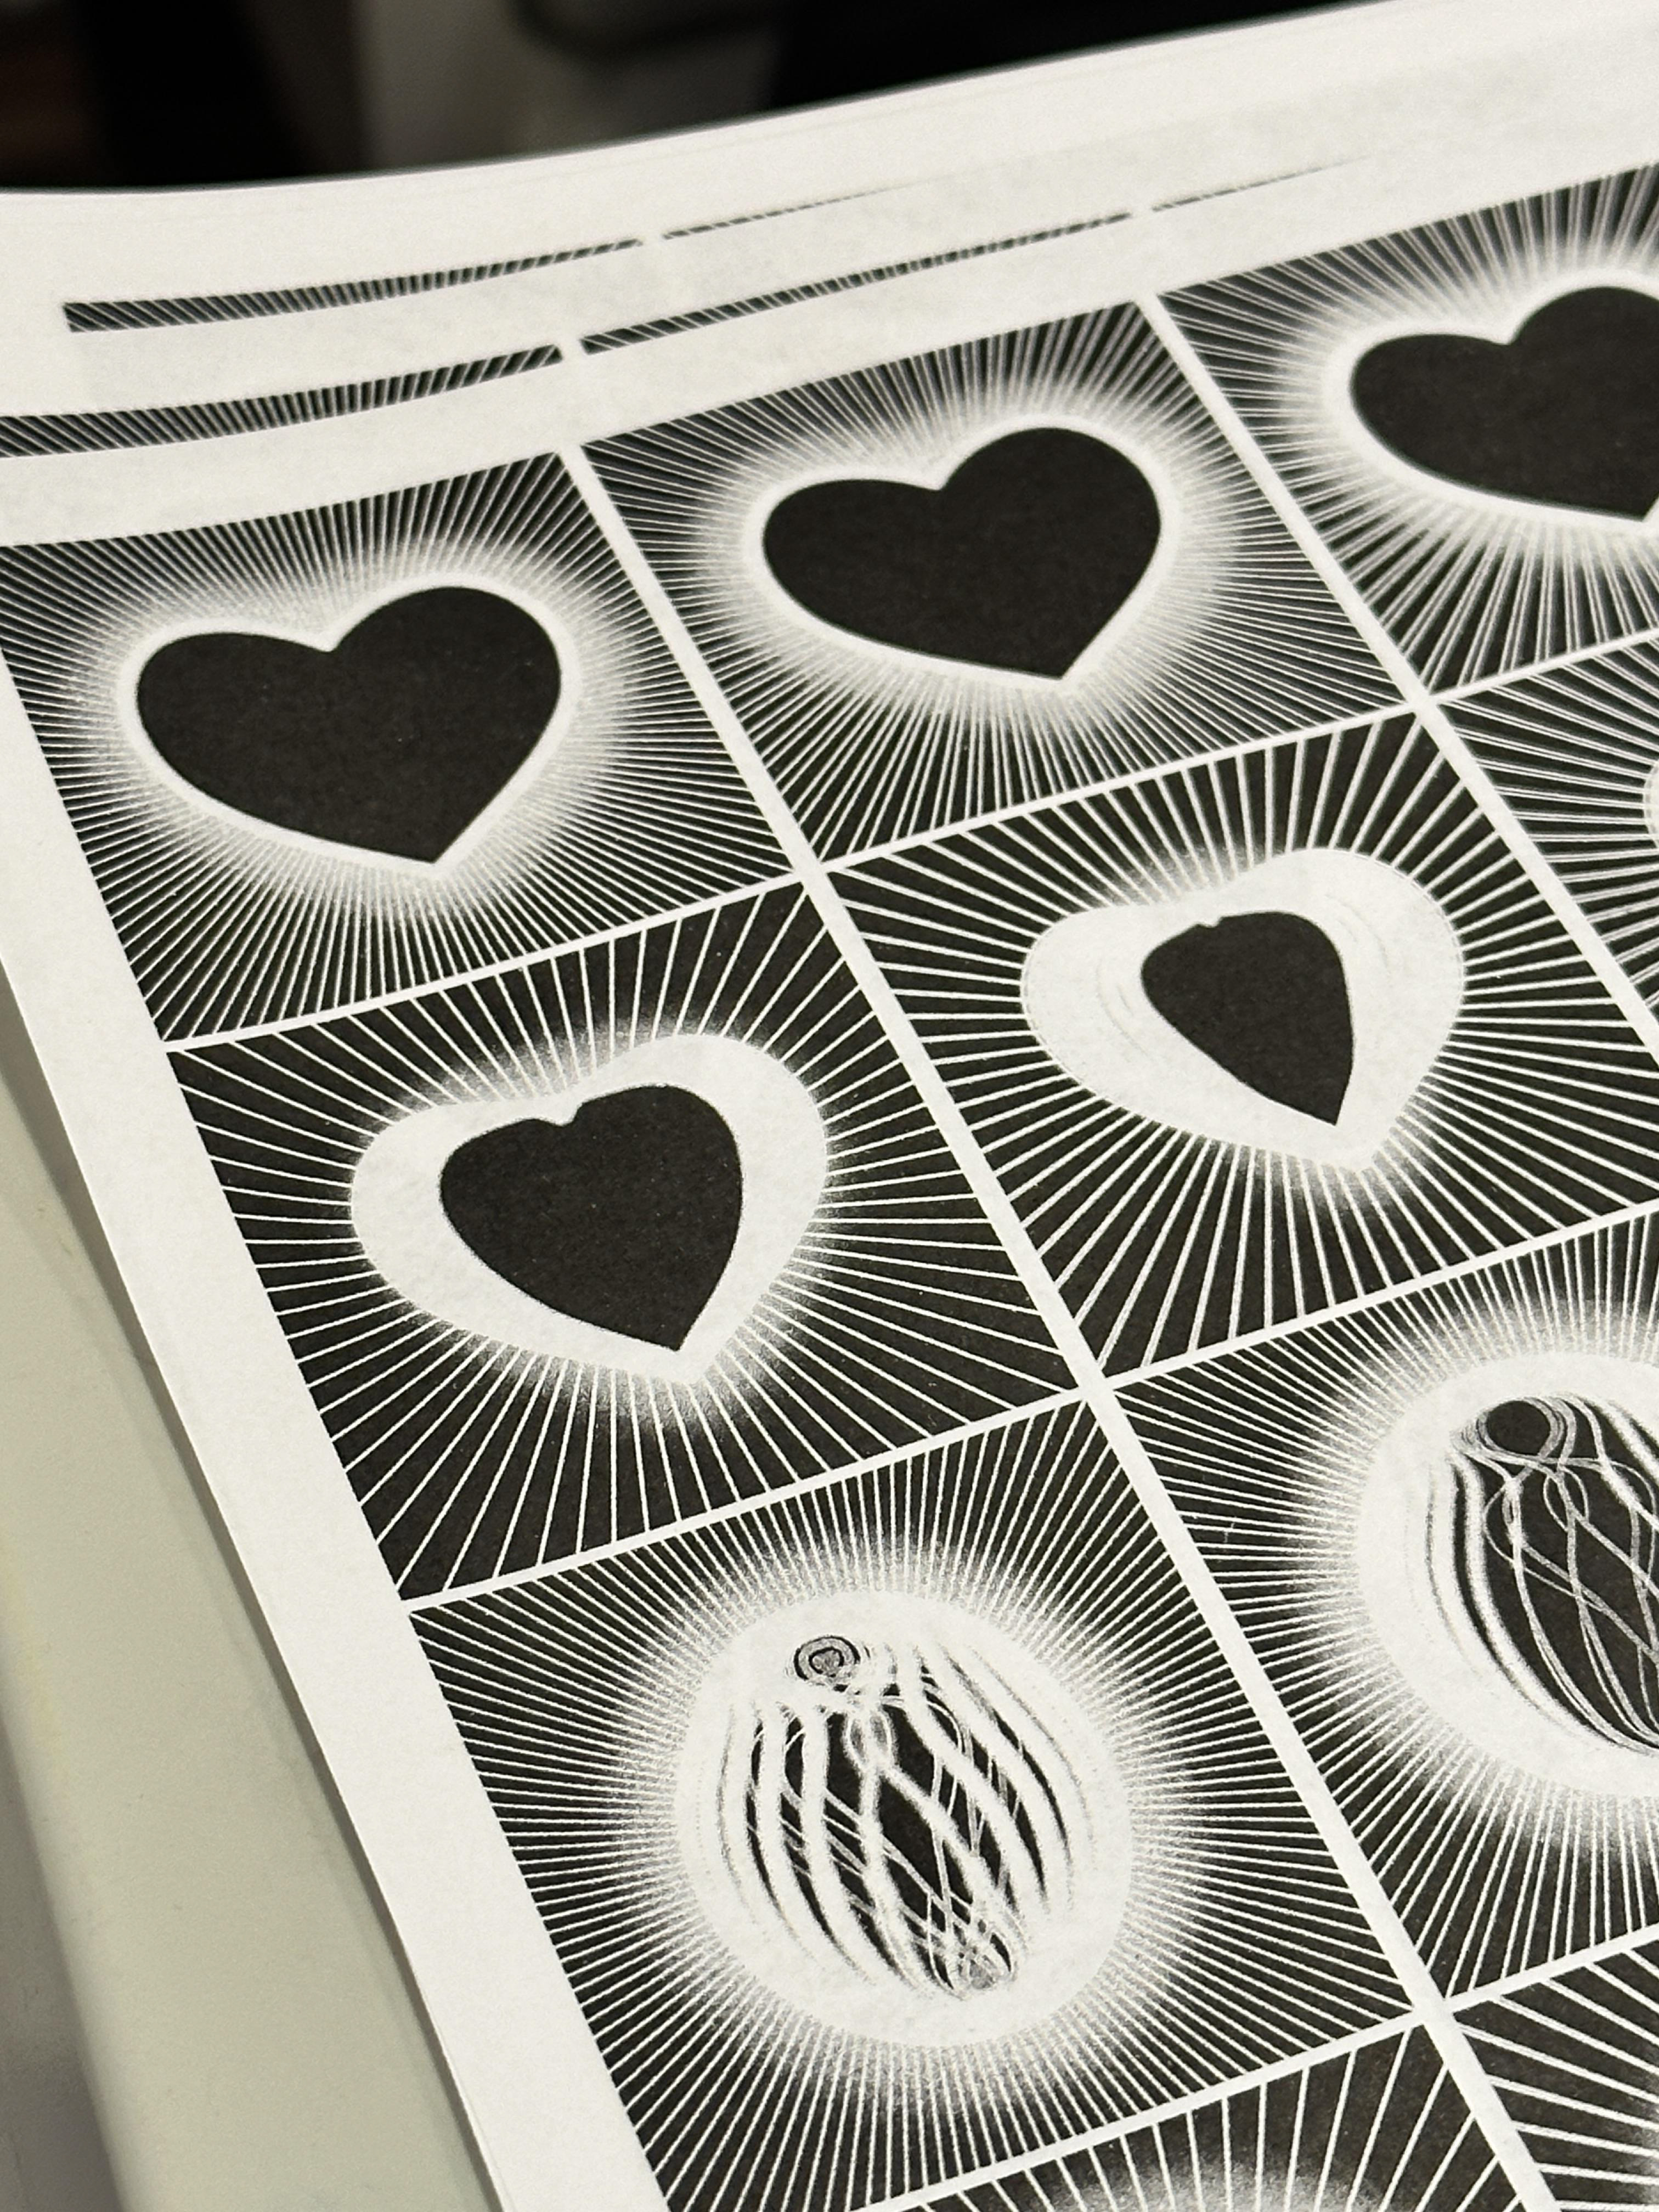
The digital animation is first translated into a contact sheet, ideally optimized to fit on a standard sheet of paper to reduce waste. The contact sheet of animation frames is then color separated into separate files corresponding to each ink that will be used in the risograph printing process. Typically, less is more; it is very difficult to register 4 or more inks, so you have to get creative about how you can combine as few colors as possible to produce the animation. In our case, we used yellow, pink, and blue. When combined, they also formed orange, green, purple, and black.
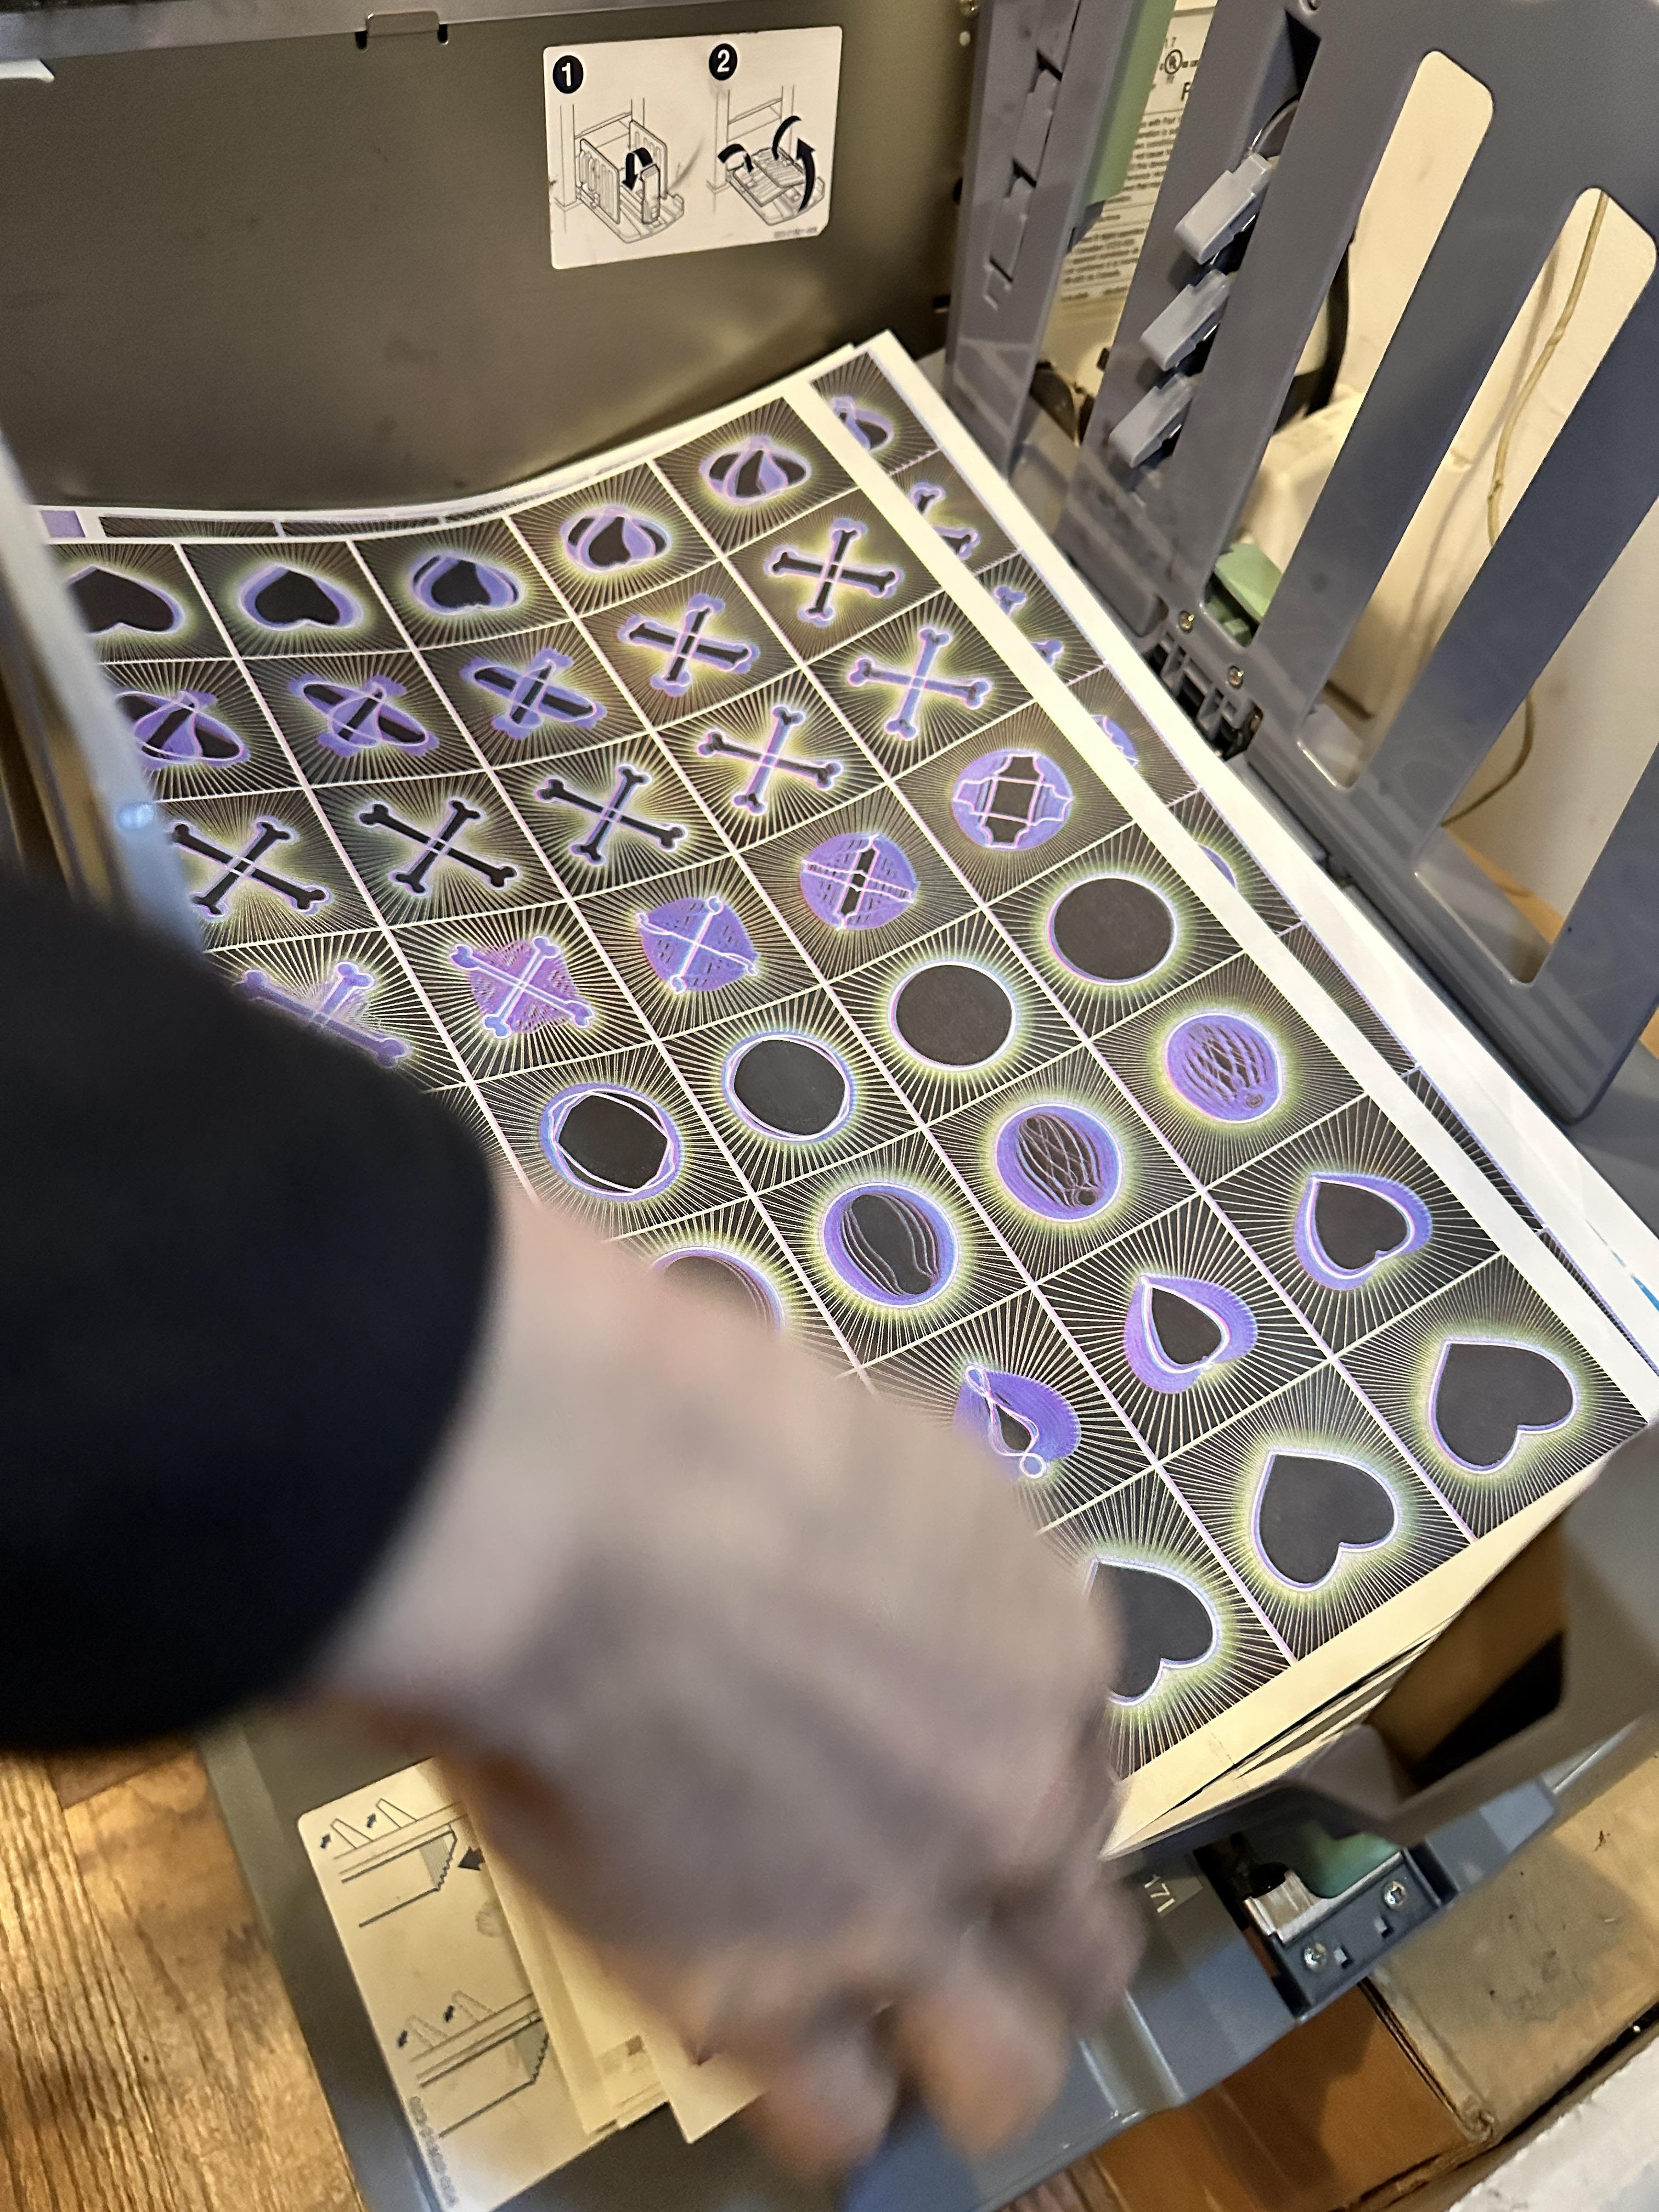
Each separate color is printed on the same sheet of paper. There's a lot of tinkering involved in getting the color registration perfect. Or, as perfect as it can be. A few dozen prints were required for me to get my color alignment perfect.
Finally, you should have a printed contact sheet with all the colors on it. From here, we reverse the beginning of the process by converting the contact sheet back into animation frames that we then export using Photoshop or After Effects. And... that's about it!
It's such a simple process, with room for experiment, error, and your imagination! I look forward to making more of these!